🎼
Solo Breakdowns
(13 solos)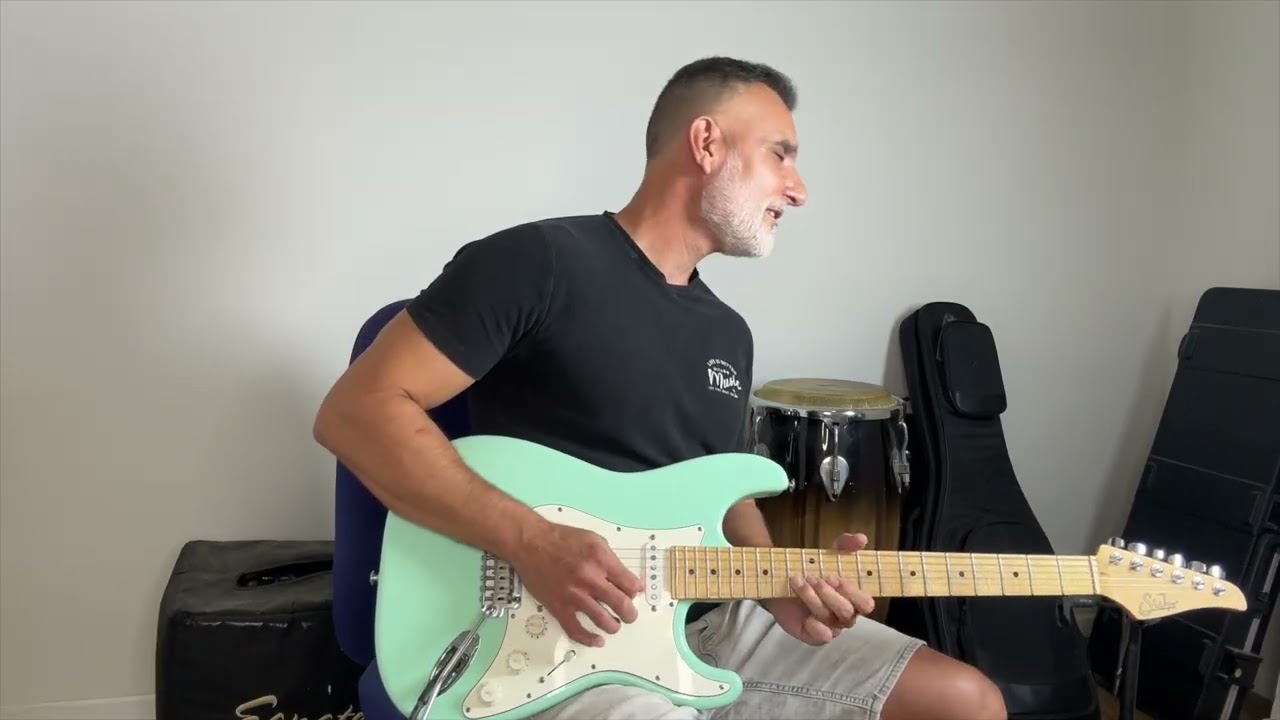
Full Performance
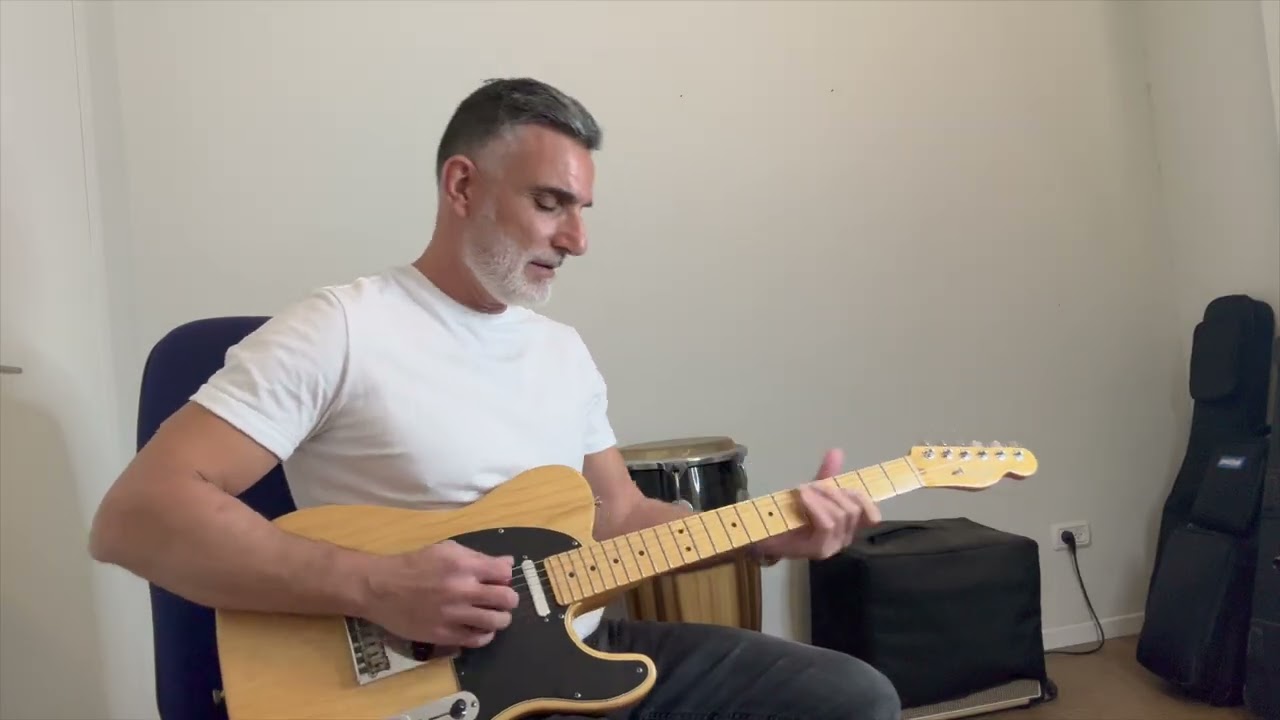
Blues Minor In G
Watch the complete solo performance from start to finish.
▶ Play Full Solo
Step 2: Learn piece by piece
PART 1
Blues Minor - PART -1
Practice →
PART 2
Blues Minor - Part 2
Practice →
PART 3
Blues Minor - Part 3
Practice →
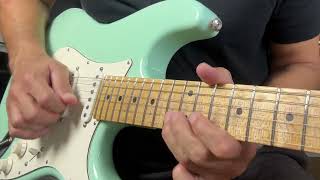
PART 4
Blues Minor - Part 4
Practice →
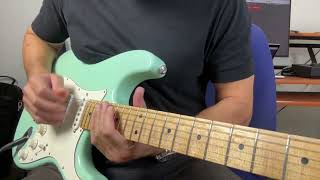
PART 5
Blues Minor - Part 5
Practice →
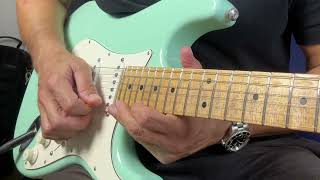
PART 6
Blues Minor - Part 6
Practice →
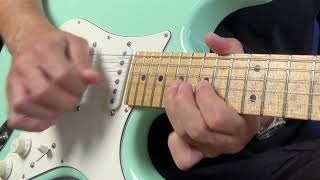
PART 7
Blues Minor - Part 7
Practice →
Full Performance
The Thrill Is Gone
Watch the complete solo performance from start to finish.
▶ Play Full Solo
⭐ Solo Highlights
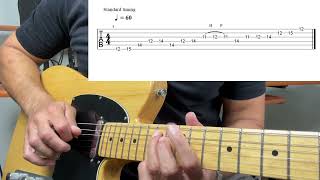
Em Arpeggio with notes from the Em scale
⭐ Watch →
Step 2: Learn piece by piece

PART 1
PART 1 - The Thrill Is Gone
Practice →
PART 2
PART 2 - The Thrill Is Gone
Practice →
PART 3
PART 3 - The Thrill Is Gone
Practice →
PART 4
PART 4 - The Thrill Is Gone
Practice →
PART 5
PART 5 - The Thrill Is Gone
Practice →
PART 6
PART 6 - The Thrill Is Gone
Practice →
PART 7
PART 7 - The Thrill Is Gone
Practice →
PART 8
PART 8 - The Thrill Is Gone
Practice →
Full Performance
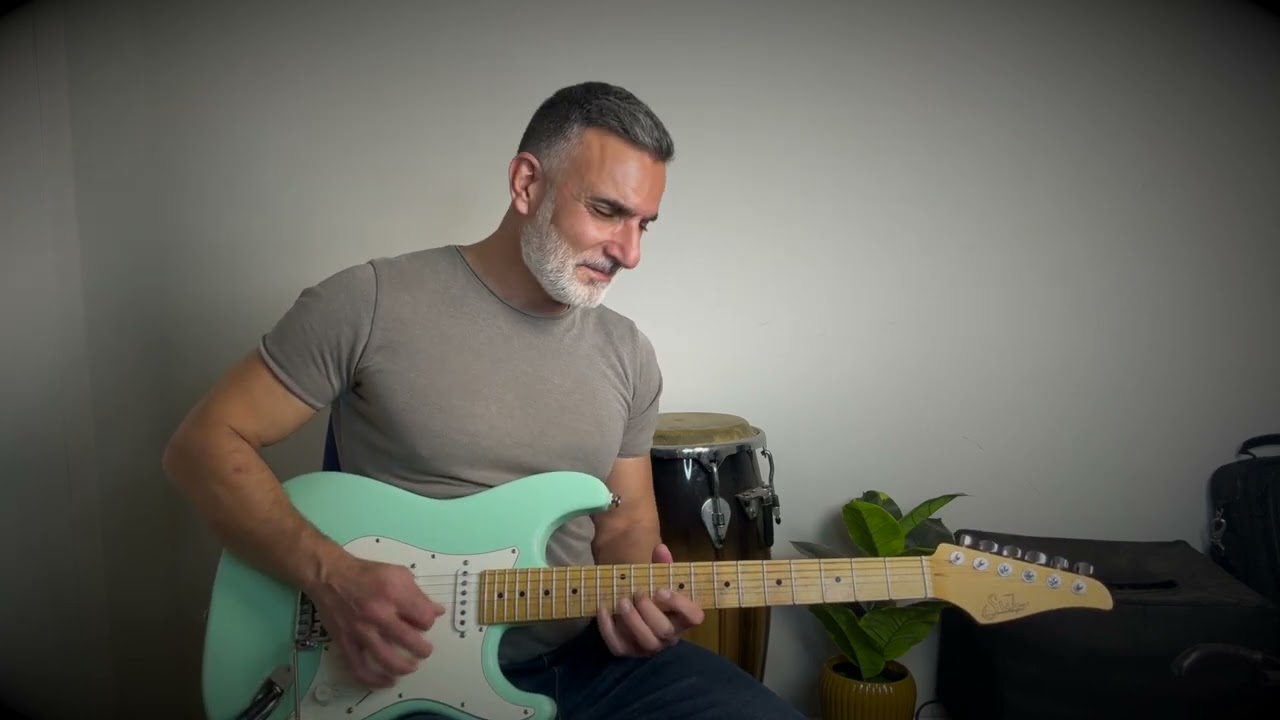
Clean Guitar Blues / Jazz Bosa
Watch the complete solo performance from start to finish.
▶ Play Full Solo
⭐ Solo Highlights
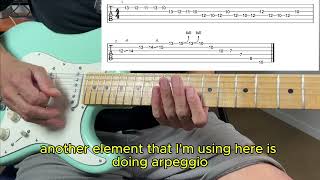
Chromatic notes, Arpeggio and Rhythm in one phrase
⭐ Watch →
Step 2: Learn piece by piece

PART 1
PART 1 - Clean Guitar Blues / Jazz Bosa
Practice →
PART 2
PART 2 - Clean Guitar Blues / Jazz Bosa
Practice →
PART 3
PART 3 - Clean Guitar Blues / Jazz Bosa
Practice →
PART 4
PART 4 - Clean Guitar Blues / Jazz Bosa
Practice →
PART 5
PART 5 - Clean Guitar Blues / Jazz Bosa
Practice →
PART 6
PART 6 - Clean Guitar Blues / Jazz Bosa
Practice →
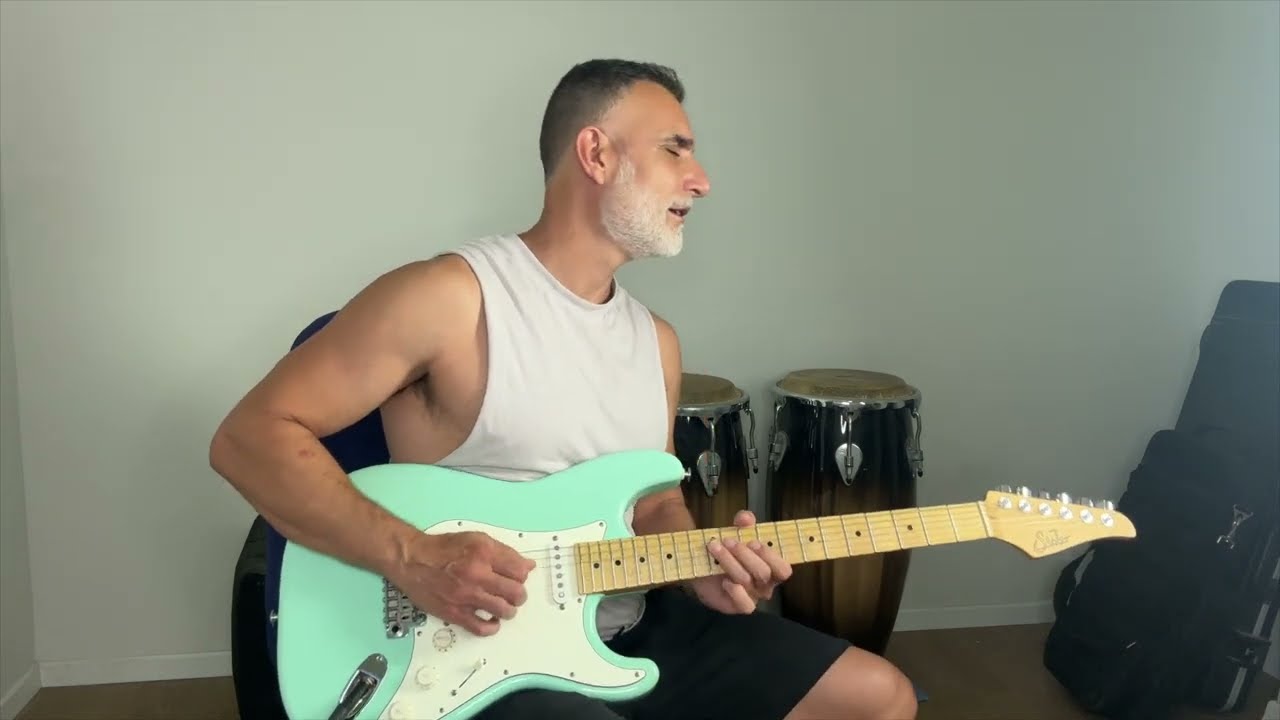
Full Performance
D Minor Jazz / Blues Vibes
Watch the complete solo performance from start to finish.
▶ Play Full Solo
Step 2: Learn piece by piece
PART 1
D Minor Jazz / Blues Vibes - PART 1
Practice →
PART 2
D Minor Jazz / Blues Vibes - PART 2
Practice →
PART 3
D Minor Jazz / Blues Vibes - PART 3
Practice →
Full Performance
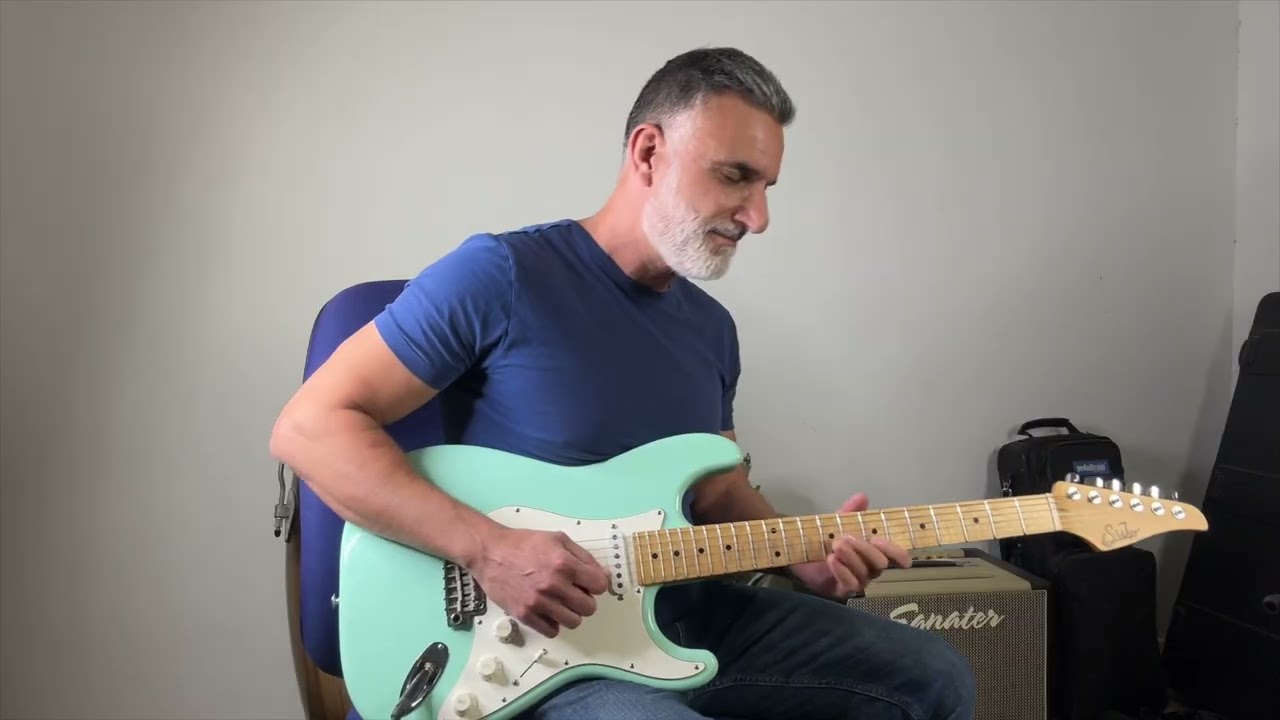
Smooth Blues Soul
Watch the complete solo performance from start to finish.
▶ Play Full Solo
Step 2: Learn piece by piece

PART 1
PART 1 - Smooth Blues Soul
Practice →
PART 2
PART 2 - Smooth Blues Soul
Practice →
PART 3
PART 3 - Smooth Blues Soul
Practice →
PART 4
PART 4 - Smooth Blues Soul
Practice →
Full Performance
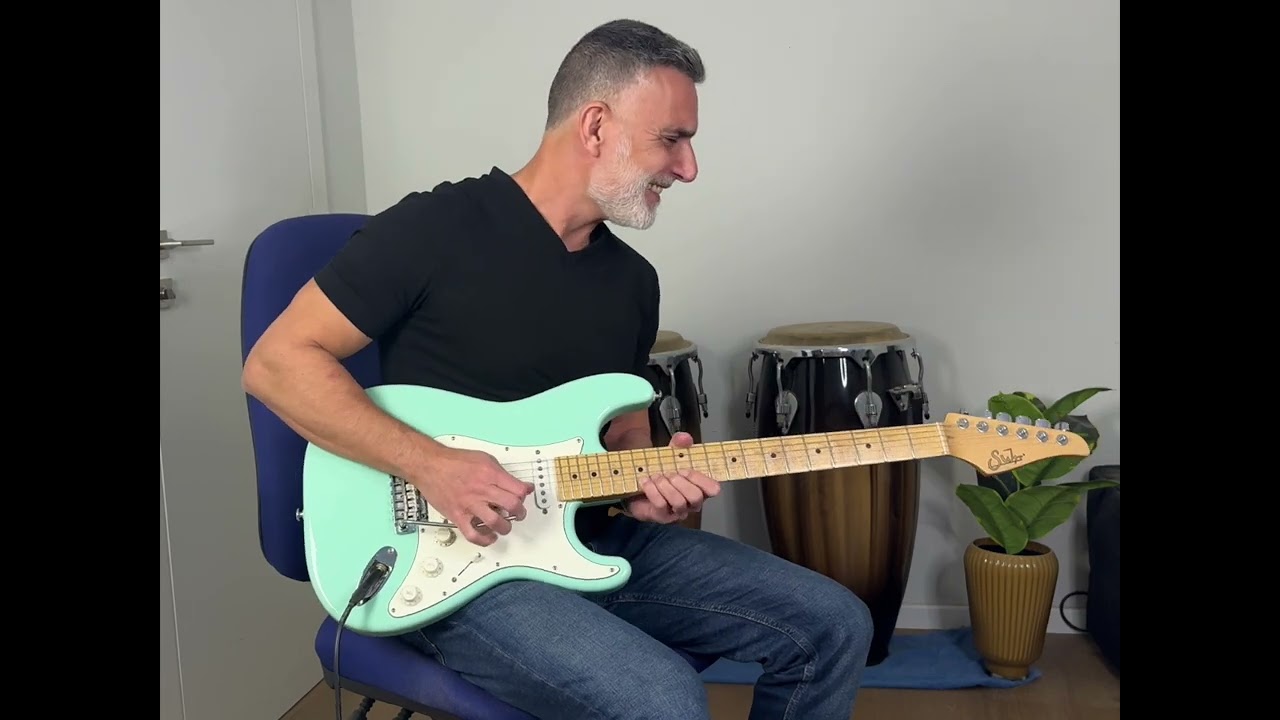
Funk / Rock Em
Watch the complete solo performance from start to finish.
▶ Play Full Solo
Step 2: Learn piece by piece

PART 1
PART 1 - Funk / Rock Em
Practice →
PART 2
PART 2 - Funk / Rock Em
Practice →
PART 3
PART 3 - Funk / Rock Em
Practice →
PART 4
PART 4 - Funk / Rock Em
Practice →
PART 5
PART 5 - Funk / Rock Em
Practice →
PART 6
PART 6 - Funk / Rock Em
Practice →
PART 7
PART 7 - Funk / Rock Em
Practice →
PART 8
PART 8 - Funk / Rock Em
Practice →
Full Performance
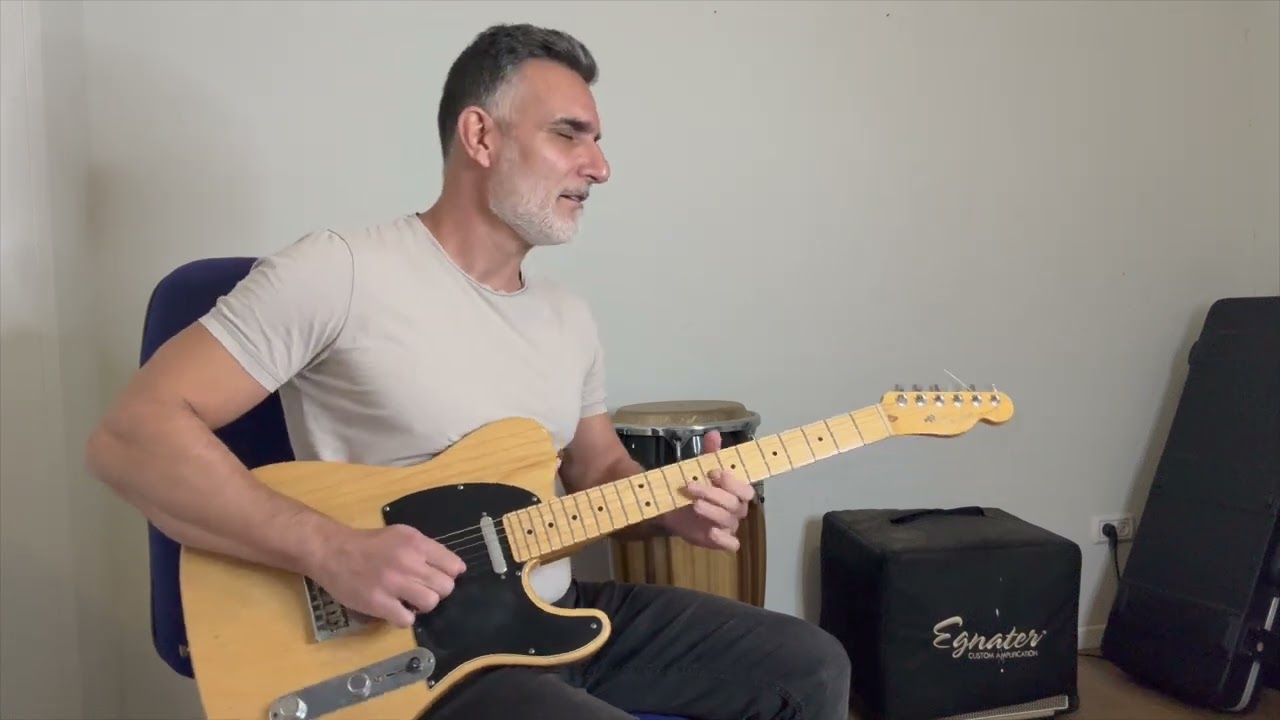
Blues Shuffle In C
Watch the complete solo performance from start to finish.
▶ Play Full Solo
Step 2: Learn piece by piece

PART 1
PART 1 - Blues Shuffle In C
Practice →

PART 2
PART 2 - Blues Shuffle In C
Practice →

PART 3
PART 3 - Blues Shuffle In C
Practice →

PART 4
PART 4 - Blues Shuffle In C
Practice →

PART 5
PART 5 - Blues Shuffle In C
Practice →

PART 6
PART 6 - Blues Shuffle In C
Practice →

PART 7
PART 7 - Blues Shuffle In C
Practice →

PART 8
PART 8 - Blues Shuffle In C
Practice →

PART 9
PART 9 - Blues Shuffle In C
Practice →
Full Performance
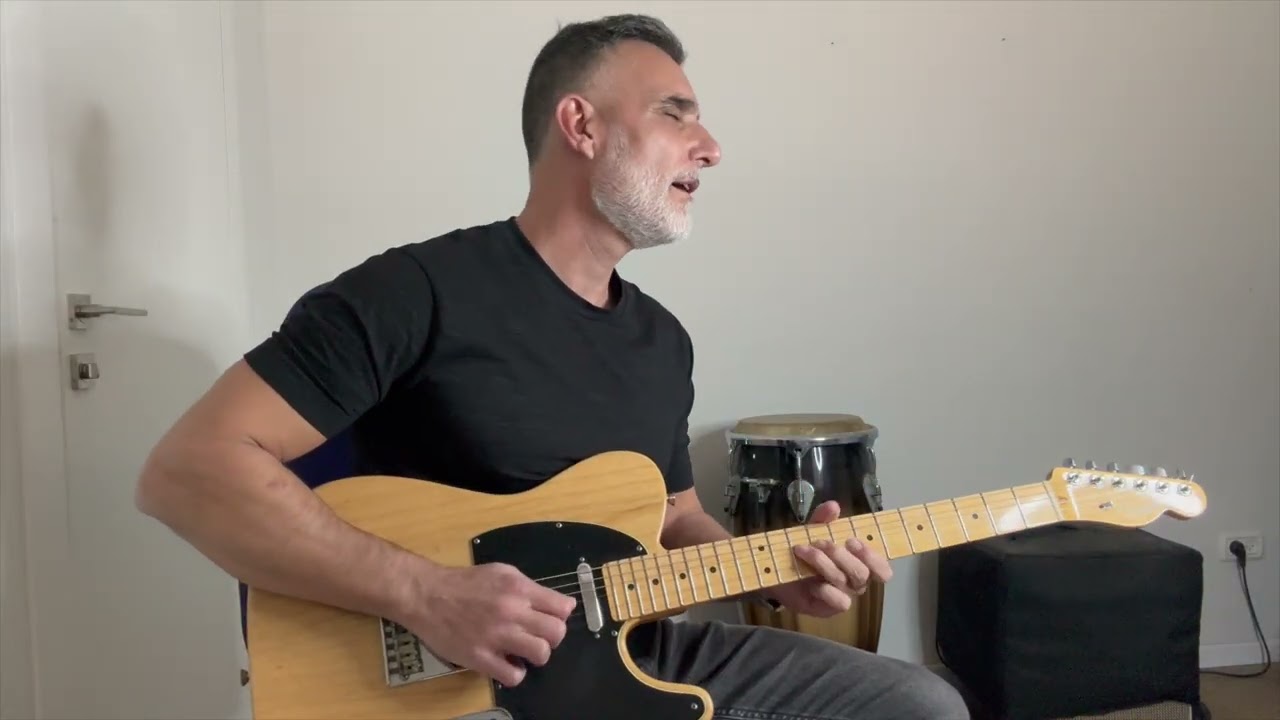
Midnight Blues - Gary Moore
Watch the complete solo performance from start to finish.
▶ Play Full Solo
Step 2: Learn piece by piece

PART 1
PART 1 - Midnight Blues
Practice →
PART 2
PART 2 - Midnight Blues
Practice →
PART 3
PART 3 - Midnight Blues
Practice →
PART 4
PART 4 - Midnight Blues
Practice →
PART 5
PART 5 - Midnight Blues
Practice →
PART 6
PART 6 - Midnight Blues
Practice →
PART 7
PART 7 - Midnight Blues
Practice →
PART 8
PART 8 - Midnight Blues
Practice →
PART 9
PART 9 - Midnight Blues
Practice →
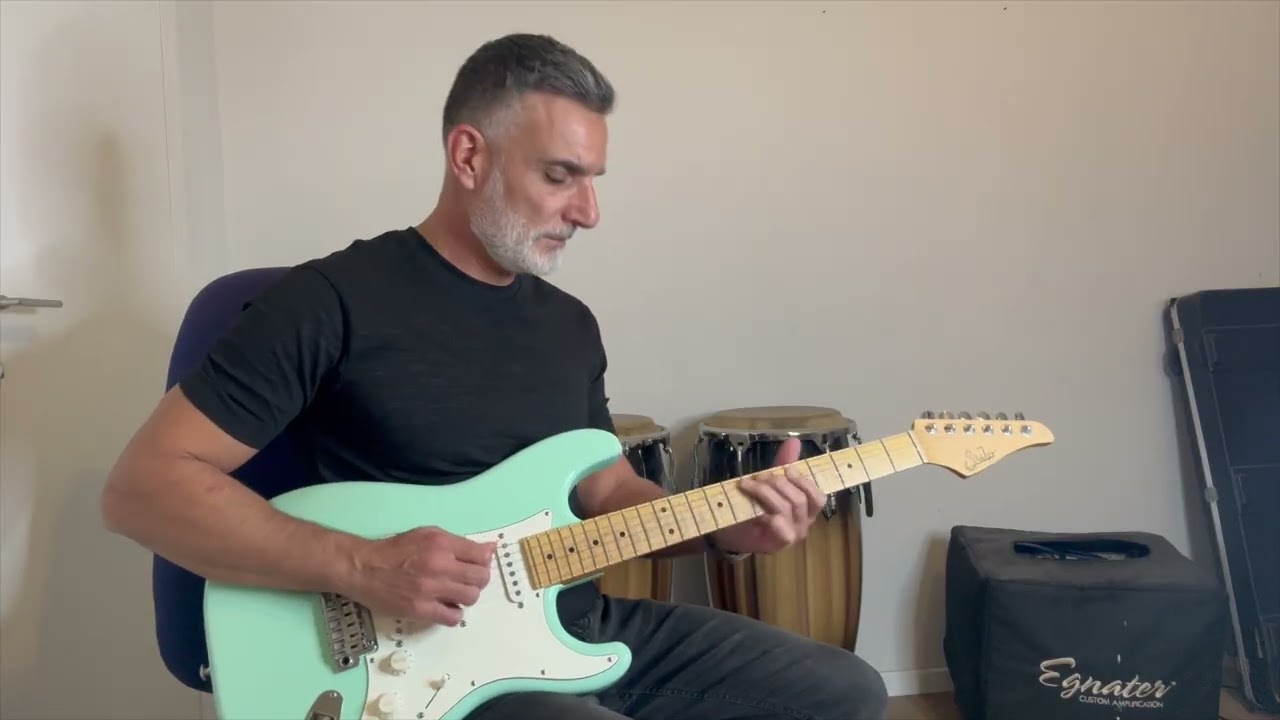
Full Performance
Peter Green- Blues
Watch the complete solo performance from start to finish.
▶ Play Full Solo
Step 2: Learn piece by piece

PART 1
PART 1 - Blues
Practice →
PART 2
PART 2 - Blues
Practice →
PART 3
PART 3 - Blues
Practice →
PART 4
PART 4 - Blues
Practice →
PART 5
PART 5 - Blues
Practice →
PART 6
PART 6 - Blues
Practice →
PART 7
PART 7 - Blues
Practice →
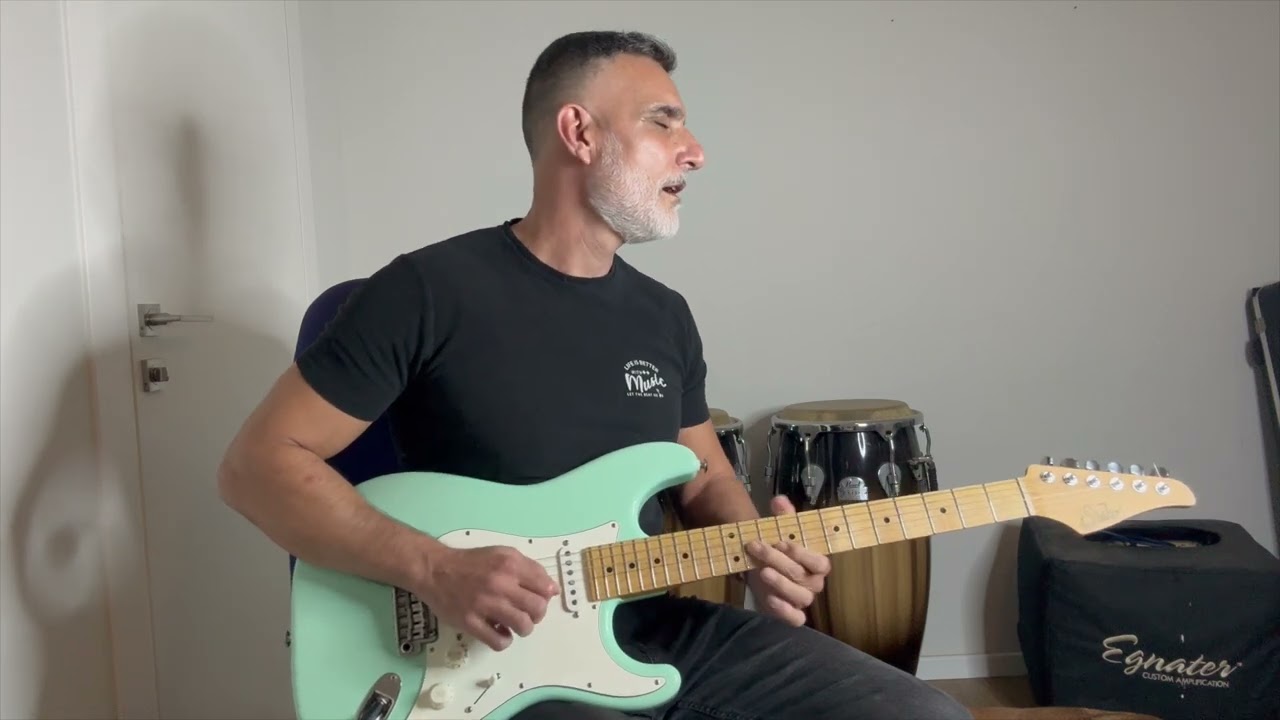
Full Performance
Blues solo in A major
Watch the complete solo performance from start to finish.
▶ Play Full Solo
Step 2: Learn piece by piece

PART 1
PART 1 - Slow Blues in A Major
Practice →
PART 2
PART 2 - Slow Blues in A Major
Practice →
PART 3
PART 3 - Slow Blues in A Major
Practice →
PART 4
PART 4 - Slow Blues in A Major
Practice →
PART 5
PART 5 - Slow Blues in A Major
Practice →
PART 6
PART 6 - Slow Blues in A Major
Practice →
PART 7
PART 7 - Slow Blues in A Major
Practice →

Full Performance
Santana - Black Magic Woman
Watch the complete solo performance from start to finish.
▶ Play Full Solo
Step 2: Learn piece by piece

PART 1
PART 1 - Santana - Black Magic Woman
Practice →
PART 2
PART 2 - Santana - Black Magic Woman
Practice →
PART 3
PART 3 - Santana - Black Magic Woman
Practice →

PART 4
PART 4 - Santana - Black Magic Woman
Practice →
PART 5
PART 5 - Santana - Black Magic Woman
Practice →
PART 6
PART 6 - Santana - Black Magic Woman
Practice →
PART 7
PART 7 - Santana - Black Magic Woman
Practice →
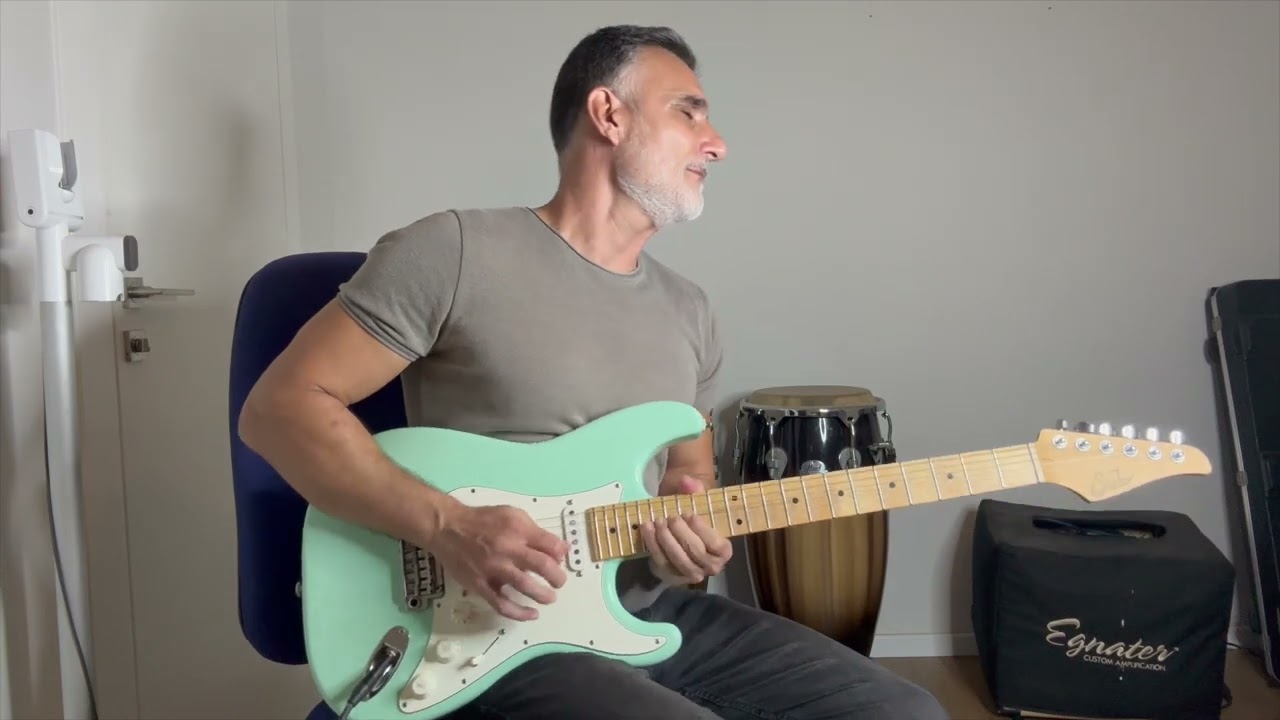
Full Performance
Queen - Bohemian Rhapsody
Watch the complete solo performance from start to finish.
▶ Play Full Solo
Step 2: Learn piece by piece

PART 1
PART 1 - Queen - Bohemian Rhapsody
Practice →
PART 2
PART 2 - Queen - Bohemian Rhapsody
Practice →
PART 3
PART 3 - Queen - Bohemian Rhapsody
Practice →
PART 4
PART 4 - Queen - Bohemian Rhapsody
Practice →
PART 5
PART 5 - Queen - Bohemian Rhapsody
Practice →
PART 6
PART 6 - Queen - Bohemian Rhapsody
Practice →
PART 7
PART 7 - Queen - Bohemian Rhapsody
Practice →
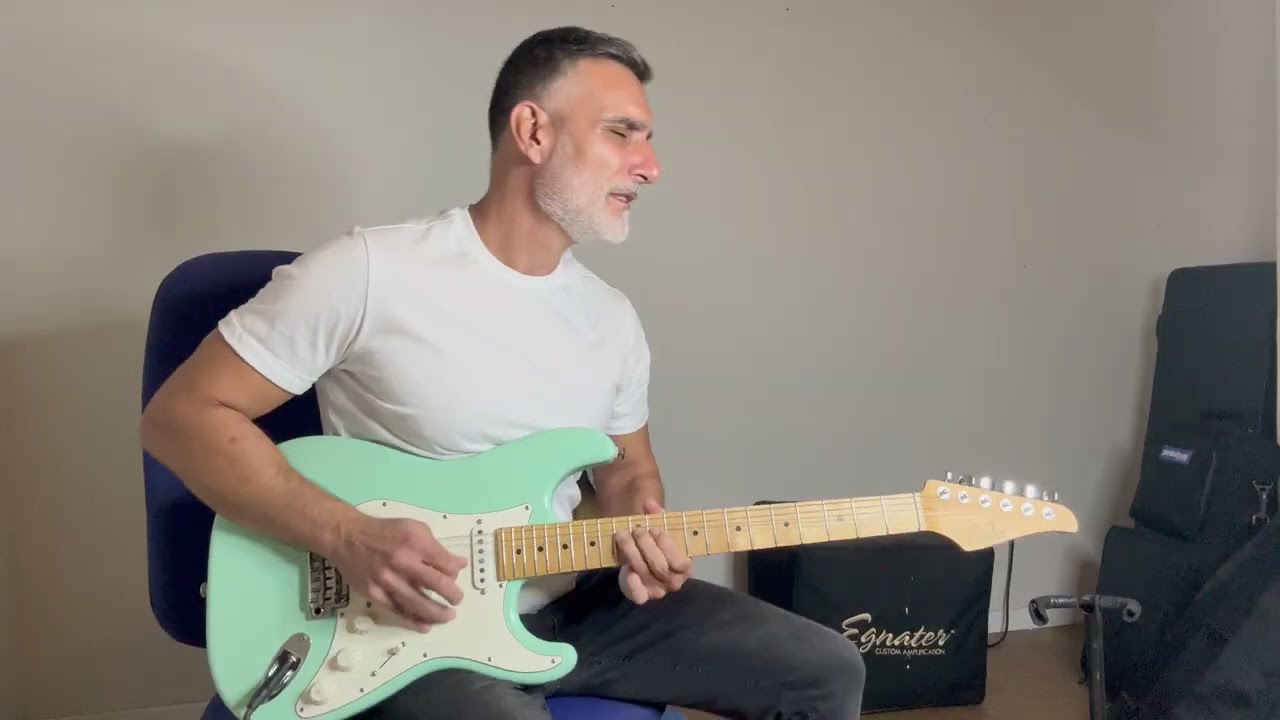
Full Performance
Pink Floyd - Another Brick in the Wall
Watch the complete solo performance from start to finish.
▶ Play Full Solo
Step 2: Learn piece by piece
PART 1
PART 1 - Pink Floyd - Another Brick in the Wall
Practice →
PART 2
PART 2 - Pink Floyd - Another Brick in the Wall
Practice →
PART 3
PART 3 - Pink Floyd - Another Brick in the Wall
Practice →
PART 4
PART 4 - Pink Floyd - Another Brick in the Wall
Practice →
PART 5
PART 5 - Pink Floyd - Another Brick in the Wall
Practice →
PART 6
PART 6 - Pink Floyd - Another Brick in the Wall
Practice →
PART 7
PART 7 - Pink Floyd - Another Brick in the Wall
Practice →
PART 8
PART 8 - Pink Floyd - Another Brick in the Wall
Practice →